
Nothing ushers in the autumn weather quite like an apple craft! Our dear friend Jillian Schatzman of Little Minds Creative put together this wonderful felted tutorial that you can use at home or give as gifts this school season.
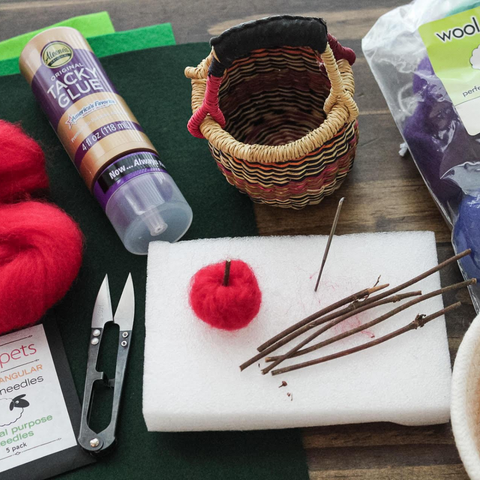
Materials:
Shears or scissors
Craft glue (hot glue would also work)
Small twigs (I found wild grapevine to work well)
Optional: finger protector or gloves
Step 1
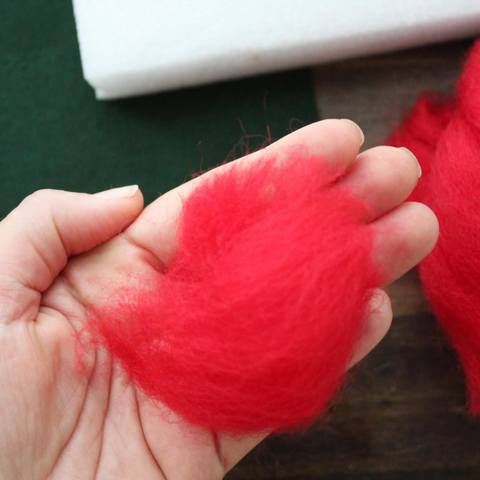
Choose the color of your apples, cut a piece of roving approximately 2 inches wide and three inches long. You can adjust the amount if you want the apples to be larger or smaller.
Step 2
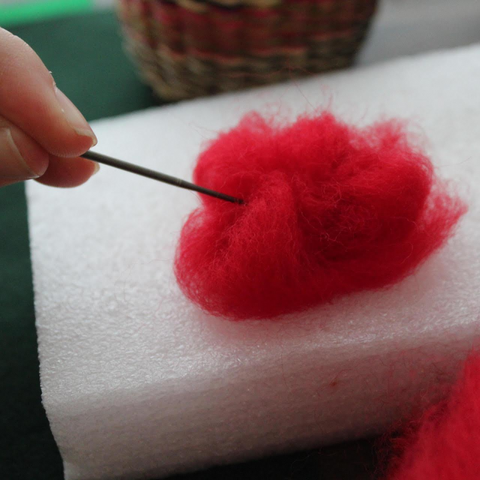
Using the felting needle to tuck the loose ends into the center. Gently pull the wool into the center and tuck. Always use a gentle pressing motion while using the needle, never a jabbing motion.
Step 3
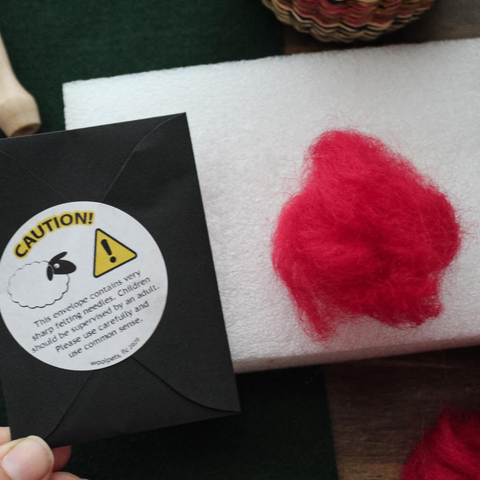
Teach little ones to use the needle slowly and cautiously. If you are not comfortable with them using it, you may create the apples and they may help with the twigs and leaves. Or you could use pre made wool balls or poms poms.
Step 4
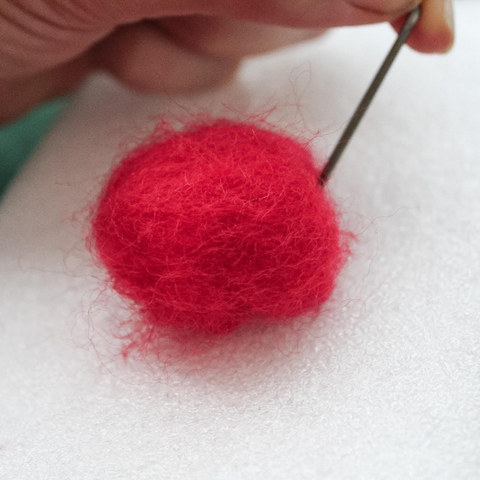
Continue to shape and poke the Apple with the needle. You can use you hands to shape and then poke some more. You can continuously poke the center to get the space where twig will go.
Step 5
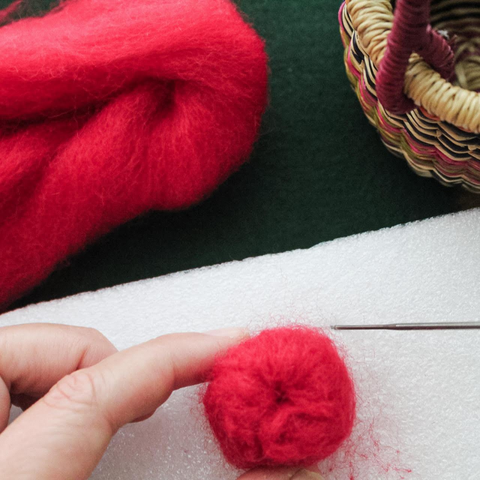
Once you have the desired apple shape, you can cut a small piece of twig for the stem.
Step 6
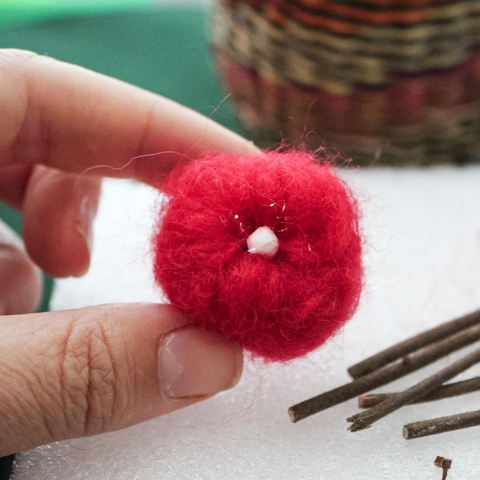
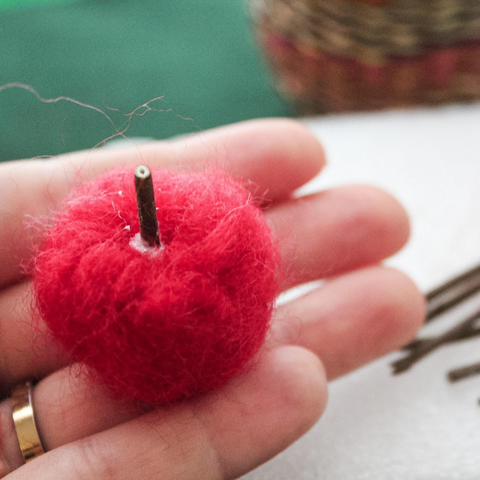
Place a dot of glue in the center and press the twig into the glue.
Once firmly in place, it will look like this:
Step 8
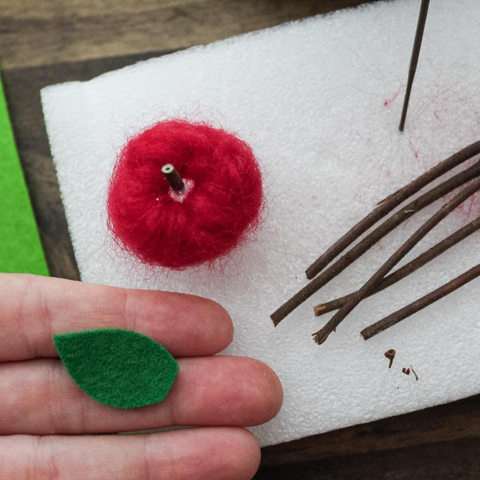
Cut out a small leaf from the wool felt sheet, you could also make one out of the roving!
Step 9
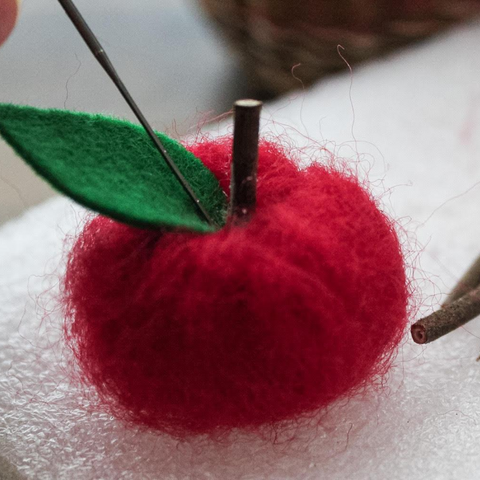
Place a small dab of glue on the underside of the leaf. Using the needle, gently place it as close to the stem as you can get it.
Step 10
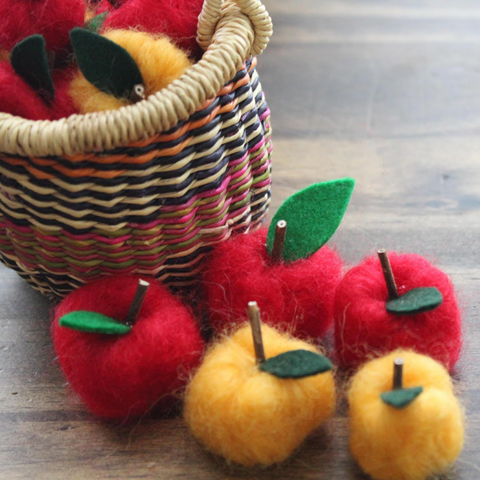
Allow to dry and then create as many as you’d like to fill a basket! Use different Apple and leaf colors. These would be great for math manipulatives, color sorting, pretend play, even a gift!


Leave a comment