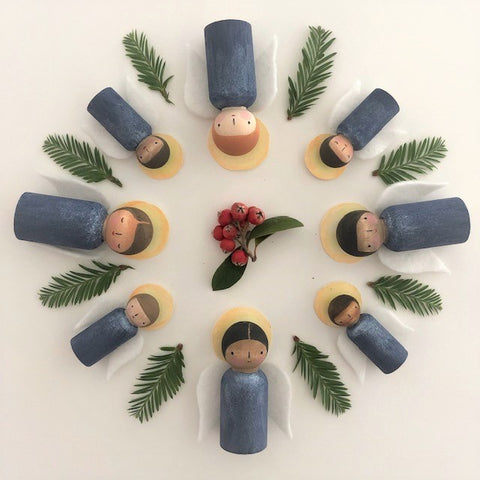
Decking the halls for the holidays is a favorite family tradition and adding hand crafted decor can make it feel even more special. Today author Margaret Bloom is sharing her beautiful Winter Angel peg doll tutorial so you can create your own ornaments, decor or bespoke gifts.
Supplies
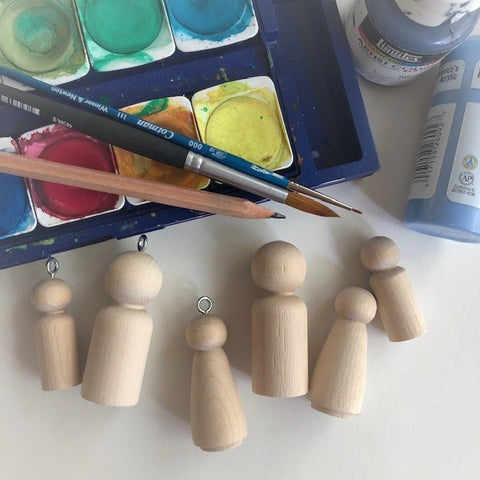
- Peg dolls: size 2 3/8 in. tall and 1 5/8 in. tall
- Opaque acrylic paints and/or watercolor paints
- Watercolor paper or white cardstock
- White felt
- Paint brushes
- Pencil
- Scissors
- [optional] Screw-eyes and drill

STEP 1: DRILLING A HOLE FOR A SCREW-EYE
If you would like to create a hanging ornament, you will want to drill the hole for your screw-eye before you start painting. Safety is very important when using wood working tools, so before you begin drilling, please protect your fingers by securing your doll in a table vise or bench vise. Rubber jaw pads are strongly recommended so that your dolls are not dented or damaged by the jaws of the vise.
Once your doll is secured in a vise, drill a hole in the top of the head, and insert a screw-eye after you are finished painting. Please note that drilling a hole in the doll’s heads for screw-eyes is completely optional. These little Winter Angels look very pretty sitting on a shelf or mantelpiece.
STEP 2: PAINTING SKIN TONES
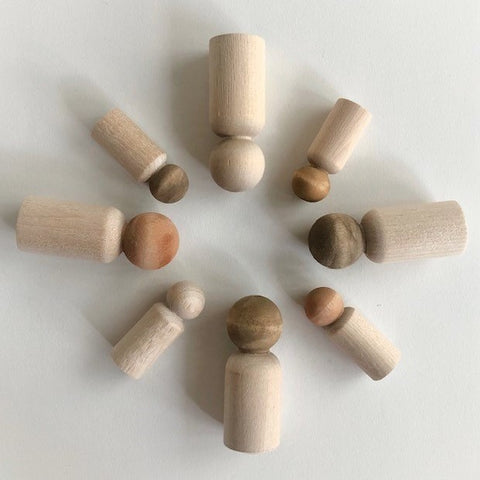
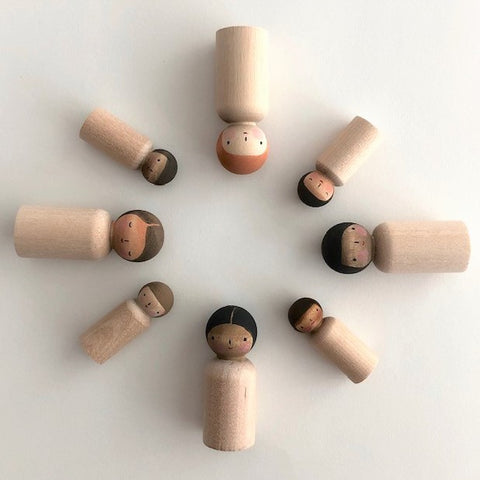
The faces of Winter Angels shine in every tone of deep brown, golden, and peach. To reflect diverse skin tone, you can use a diluted shade of brown watercolor to tint the head of your peg doll. Allow to dry completely before proceeding to the next step. For a pale skin tone, leave the head of your doll unpainted.
STEP 3: PAINTING HAIR
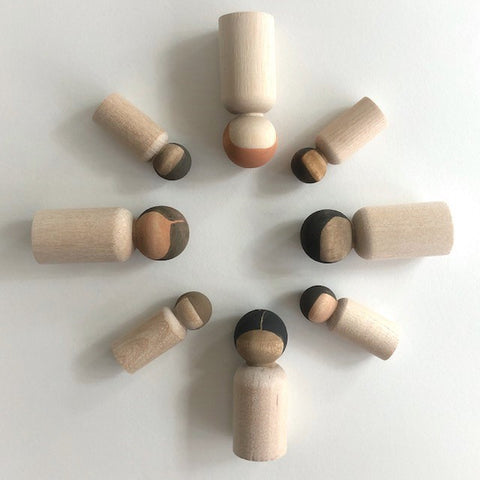
When you paint the hair on your doll, be sure to leave enough space to paint the face. Lightly sketching an outline of how you would like to paint hair can help as a guide.
STEP 4: PAINTING FACES
Use paint or a pencil to draw a face on your doll (A pencil offers more accuracy when drawing a face). Margaret created happy expressions on the faces of the Winter Angels; you can paint the face of your angel any way you like! Is your angel feeling happy? Quiet? Sleepy? Excited?
STEP 5: PAINTING WINTER ANGEL BODIES
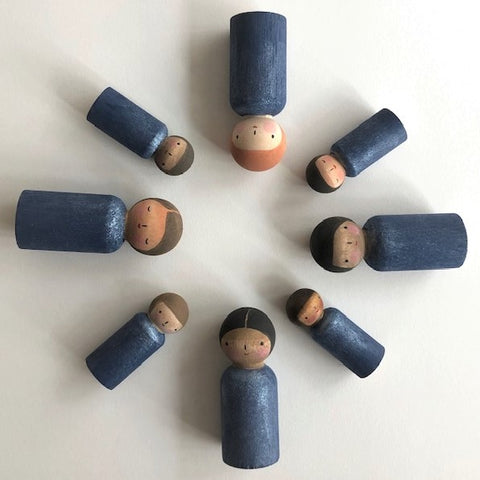
Margret chose a beautiful pearlescent blue paint that she had on hand, because it's her favorite color. Of course, Winter Angels look beautiful painted in any color – especially YOUR favorite color! The bodies of these Winter Angels are unornamented, but feel free to add little details if you wish. Buttons? Stars? Hearts? Snowflakes!

STEP 6: HALOS
Use a pencil to lightly draw a circle on your watercolor paper or cardstock. The smaller circles are 7/8 inch in diameter, and the larger circles are 1 ¼ inch in diameter.
Once your circle is drawn, use diluted yellow watercolor paint in the center of your circle and diluted orange watercolor near the perimeter. Allow the colors to blend. Once the paint is completely dry, cut out your halo along the pencil line.
If you’re not in the mood to use watercolor paper for your halo, feel free to cut a halo from wool felt or some other material to suit your preference.
STEP 8: ASSEMBLING WINTER ANGELS
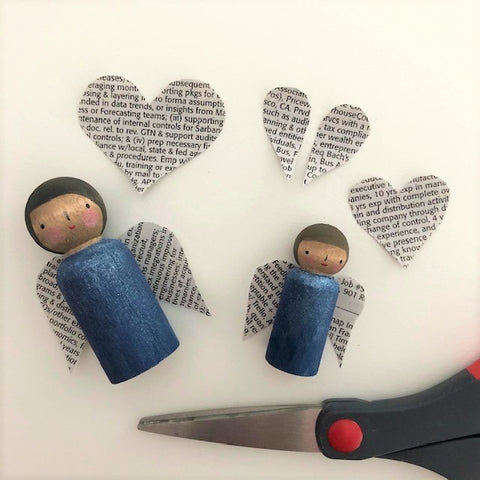
Once you have cut out your halo and wings, glue your halo to the back of the head and wings to the back of the body. If you have added a screw-eye, attach a string for hanging.
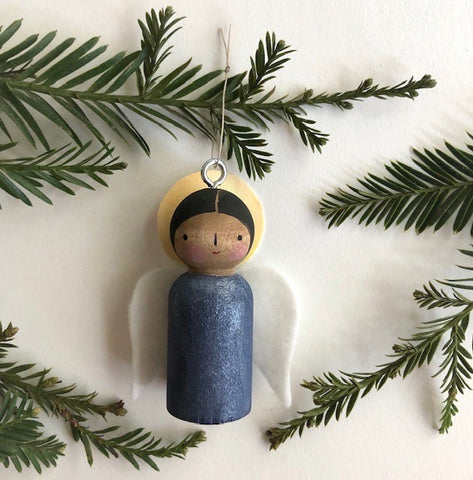
We hope your beautiful Winter Angel will bring you joy and peace. Thank you Margaret! Follow her on Instagram for more great ideas!


What glue do you use to attach the felt to the peg dolls?
Leave a comment